Friday 21 November 2014

Layers and Registration

Layers and Registration


I am using the T'rex image that I made last lesson and make it move. The file name of this is  T'rex.fla.


I have lassoed the tail of the T'rex. I have done this to make the tail move. Then I went on Modify>Convert to Symbol >Graphic for the tail.


I went on the original image and erased the tail on it. I also colored in the spaces so there was no white spaces when the tail moves.


Then I Drag the registration point  to the pivotal point on the tail. I did this by going on Free Transform>Change Registration Point. Then I selected key frame 50 and I made sure that both of the images are visible when it moves.


I have rotated the tail on the T'rex. Then I applied a classic tween to the timeline. Then I tested it by going on Control>Test Movie to preview it and it worked. So I Exported as an animated gif it and saved it as a .fla file.


Friday 10 October 2014

2D Animation Scale and Rotate Exercise

      I have created a new flashFile Action Script 3.0 in Flash CS6. Then I changed the size of the stage to 600 pixels by 550 pixels and I have a frame rate of 25fps.


Then I imported the image of the green eye into the library in flash. Then I put the image of the eye onto the stage.


 After I put the eye on the stage I converted the eye into a symbol as a graphic by using Modify>Convert to.


I changed the size of the eye by using Modify>Transform>Scale to reduce the image in Frame 1 to a maximum of 40 px in height.


 Then I selected key frame 100 and I made the eye bigger by using Modify>Transform>Scale to enlarge the Eye and to fill the stage but I made sure to not overlap the edges.


I have flipped the image vertically by using Modify>Transform>Flip vertical and I used the right Mouse button to create a Classic Tween.


 I have saved the animation and I have exported as a animated gif.


Friday 3 October 2014

Shape tween exercise

2D ANIMATION shape Tween Exercise


I have created  a New File Action Script 3.0 in Flash CS6 that  I  have a frame rate of 25fps and a stage size of 550 pixels by 400 pixels.


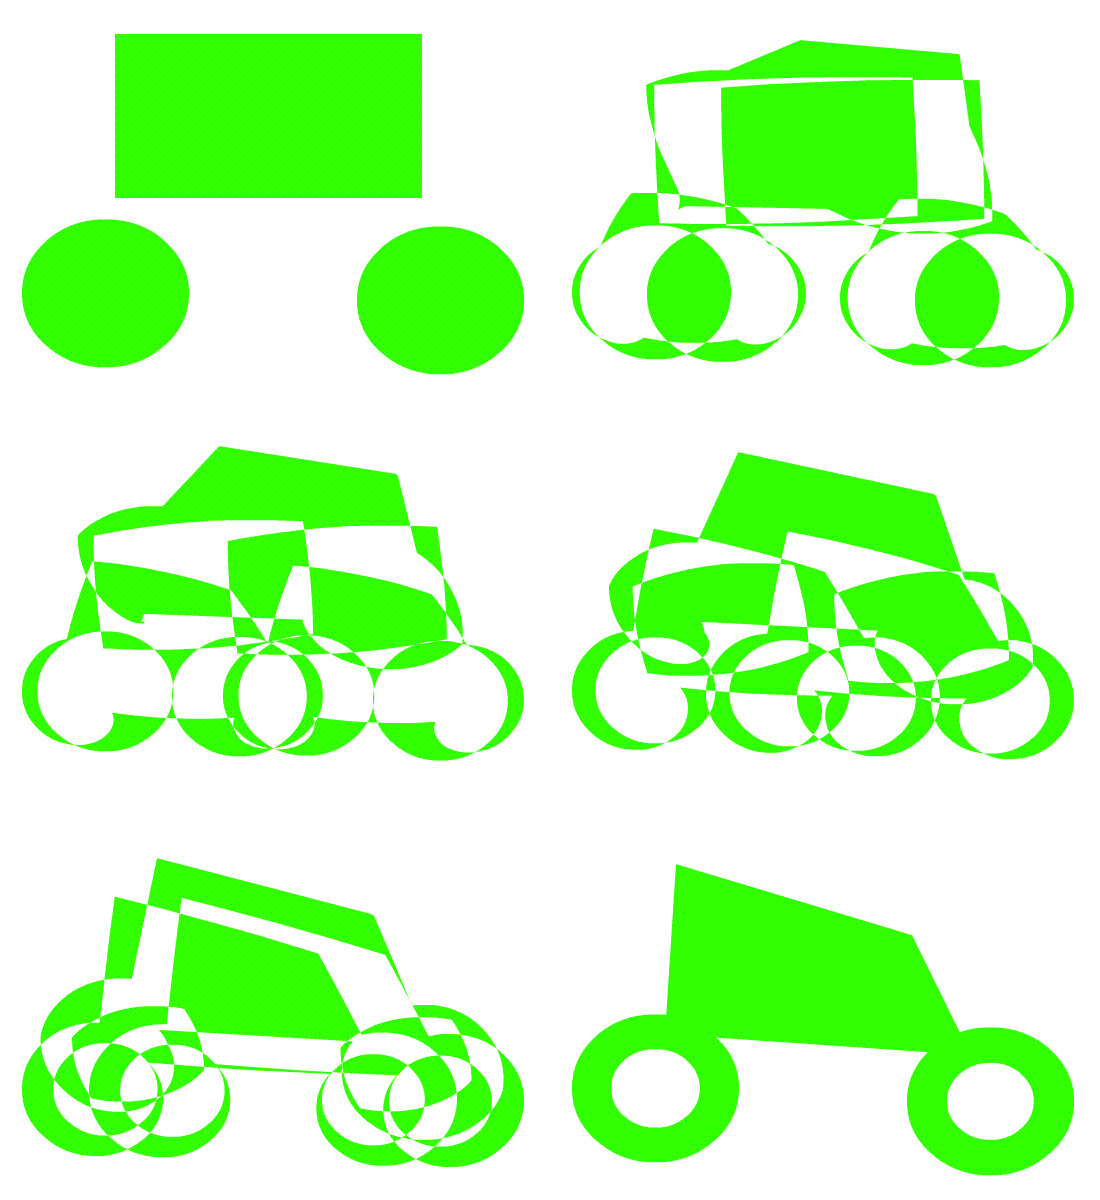
    This is an image of the first shapes which I put onto the stage and they are 2 primitive ovals and 1 rectangle and I put them on the stage by using the shape tool.


I selected a key frame of 100 on the timeline.


I have moved the anchor point son the shapes to distort them and I have turned the shapes into the shape of a car. Then I placed the right mouse button over the shapes and I selected shape tween.


  After i finished I tested my animation and it worked and then I saved it by going on  Save as and saving it as a .fla file. Then I exported it as a animated gif to put on my blog.


This is my finished animation


Friday 26 September 2014

2D Animation Motion Tween Exercise

This is a blank stage where I am going to start my 2D animation. But before I started I made sure that I have a frame rate of 25fps and a stage size of 550 pixels by 400 pixels which is on the right of the screen.


The next thing that I did was to import the image of the rocket onto the stage.


This image shows that I have imported the image of the rocket into the library which I can put onto the stage. Then the next thing that I did was to convert it to Symbol and save the rocket file as a Graphic.


Then I selected the key frame 75 on the timeline which is the end of the 2D animation.


Then I put the image of the rocket on the stage and then I dragged the rocket file off stage and click Frame 1 on the timeline.


Then I dragged the rocket image in a straight line to the right off stage and I selected Key Frame. After I did that I placed the right Mouse button over the rocket and selected Classic Tween.


     Then I tested it and it worked good. Then I saved it and exported it. When I saved it I went on save as .fla file and export as animated gif to put on my blog.